What reports should I build in Klaviyo for Opensend Connect?
We recommend building these reports in Klaviyo to give you insights into how well your email sequences are doing at converting anonymous visitors identified by Opensend Connect.
Report 1: Total Revenue Per Month
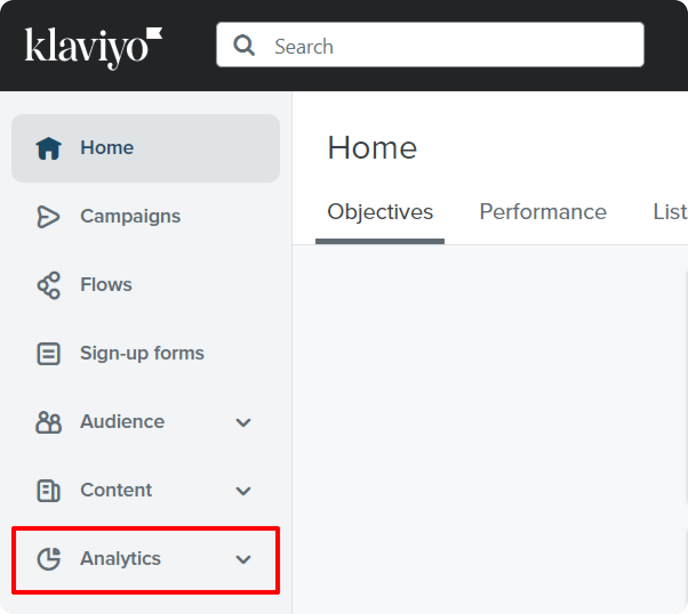
b: Then, select the “Custom Reports” option.
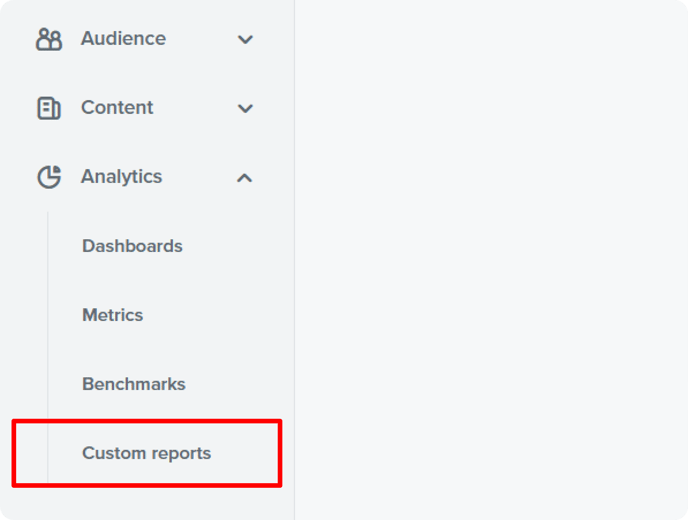
c: On the top right section click on the option “Create from scratch”

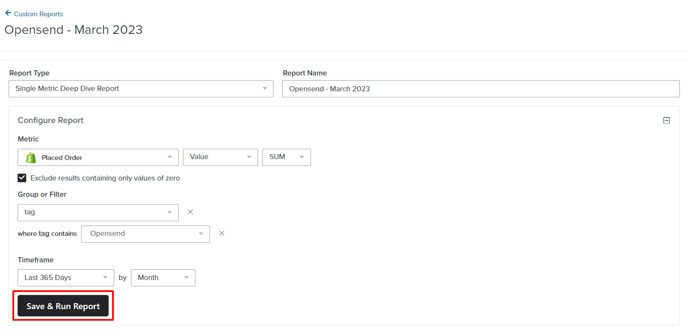
d. On the “Report Type” drop-down, select the option “Single Metric Deep Dive Report”
e. On the “Report Name” area, we recommend naming the report “Opensend Placed Order Value by Month”
f. Standing now on the “Configure Report”, move on to the “Metric” area and select the drop-down to select measure.
g. Select the option “Placed Order” next to a Shopify icon.
h. On the “Total” area, click the drop-down and select the option “Value”
i. On the “SUM” area, the option remains “SUM”
j. Continuing on the section “Group or Filter” click on “+ Add Group By” and select the option named “tag”
NOTE: There might be a similar option named “Tags” – make sure you select only the “tag” option
k. After selecting “tag” it will appear as “equal” and on the next box you will add “Opensend”
l. In the “Timeframe” area select “Last 365 days” and then in the next box select “Month”
m. Click on the “Save & Run Report” option.
Report 2: MultiMetric Report
a. Enter your Klaviyo main dashboard and on the left side bar click the “Analytics” dropdown.
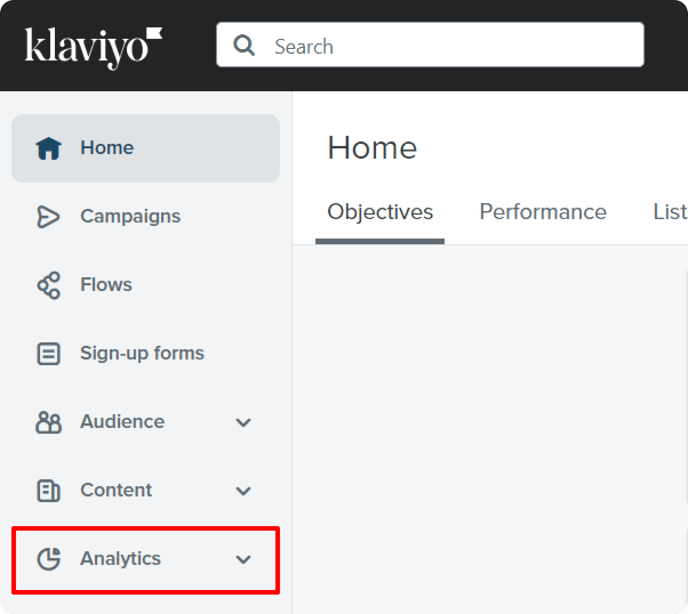
b: Then, select the “Custom Reports” option.
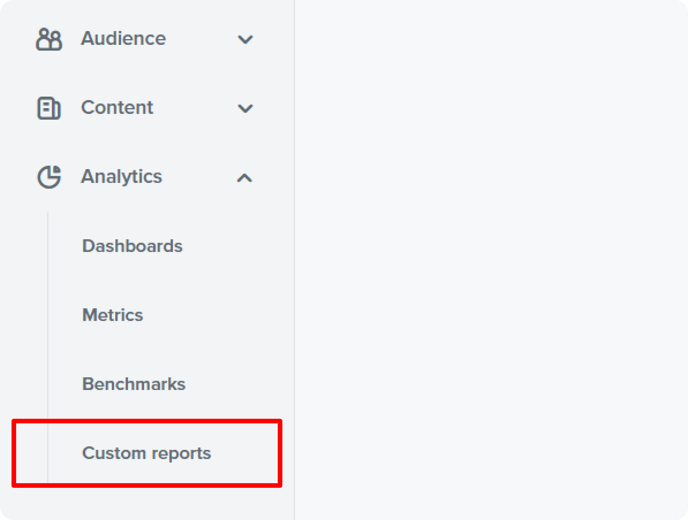
c: On the top right section click on the option “Create from scratch”

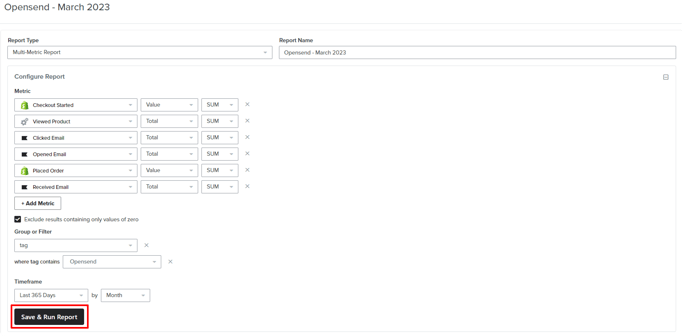
d:On the “Report Type” drop-down, select the option “Multi-Metric Report”
- Select the option “Checkout Started” then option “Value” then option “SUM”
- Select the option “Viewed Product” then option “Total” then option “SUM”
- Select the option “Clicked Email” then option “Total” then option “SUM”
- Select the option “Opened Email” then option “Total” then option “SUM”
- Select the option “Placed Order” then option “Value” then option “SUM”
- Select the option “Received Email” then option “Total” then option “SUM”
h:Continuing on the section “Group or Filter” click on “+ Add Group By” and select the option named “tag”
i:After selecting “tag” it will appear as “equal” and on the next box you will add “Opensend”
j:In the “Timeframe” area select “Last 365 days” and then in the next box select “Month”
k:Click on the “Save & Run Report” option
Report 3: Engagement Report
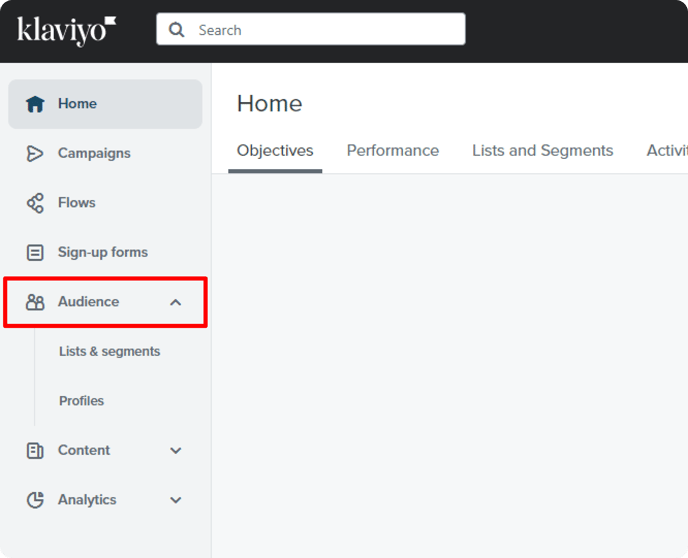
a: Enter your Klaviyo main dashboard and on the left sidebar click the “Audience” drop down.
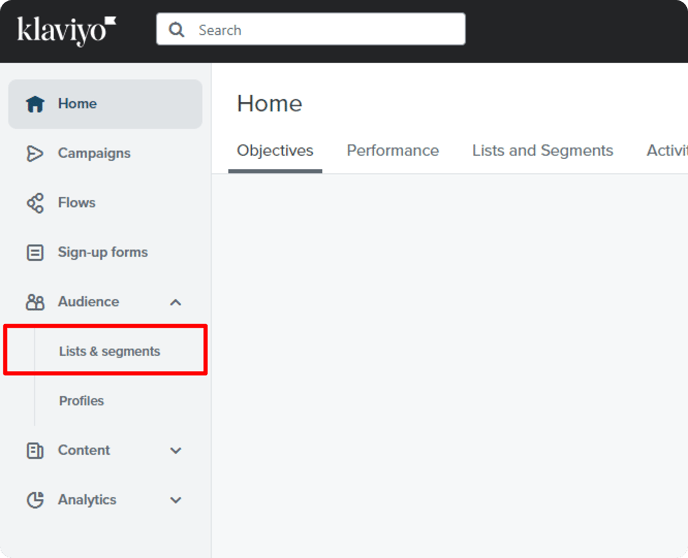
b:Then, select the “Lists & Segments” option.
c:On the top right section click on the option “Create List / Segment”

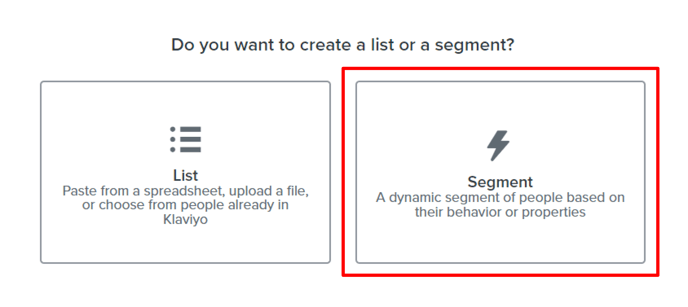
d:Then, select the right box named “Segment”
i:Next, click on “Create Segment”

j:Klaviyo will find all of the people that matched the segment and then after the list has charged you will click on the option “Reports” and then click on “Engagement”

k:Click on the middle button “Run Engagement Report”

Report 4: Opensend-identified purchasers
This report will show you a full list of Opensend-identified visitors who have made purchases.
a: Enter your Klaviyo main dashboard and on the left sidebar click the “Audience” drop down.

b:Then, select the “Lists & Segments” option.

c:On the top right section click on the option “Create List / Segment”

d:Then, select the right box named “Segment”

k: Next, click on “Create Segment”

l: Klaviyo will now create the segment and you can see all the individual Opensend-identified visitors who ended up placing an order.