- Go to the integrations tab on the Opensend Dashboard
- Click Main Connections
- Click Add Destination

- Select Zapier

- Add Name, Description, and Click Next

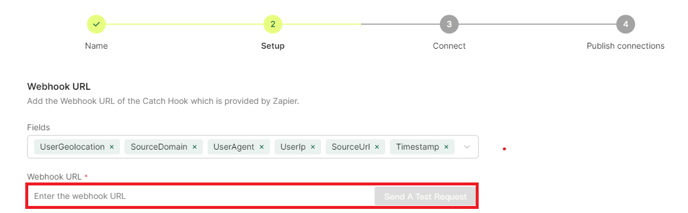
- Under the fields, dropdown select default fields from Opensend and any custom fields you added and want to send to Zapier
- In the next field, you will be asked for the Zapier Webhook URL
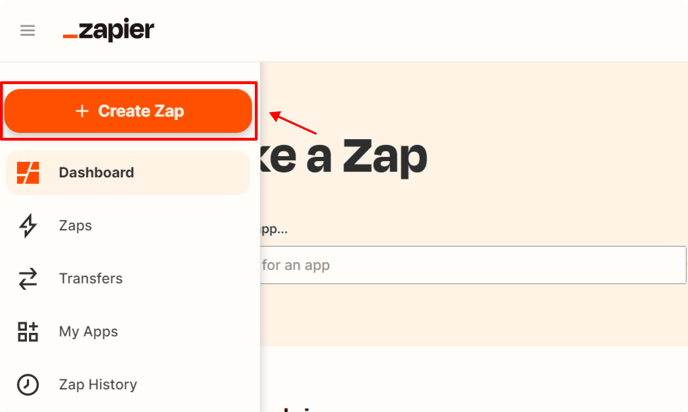
- To get the Zapier Webhook URL, log in to your Zapier account and click on the “Create Zap” button from the left bar on the dashboard.
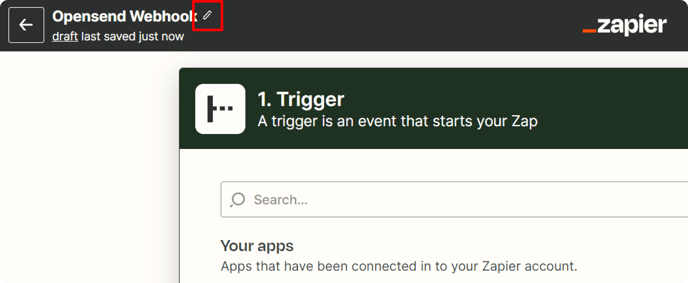
- From the top left click on the edit icon to add the name of Zap “Opensend Webhook”.
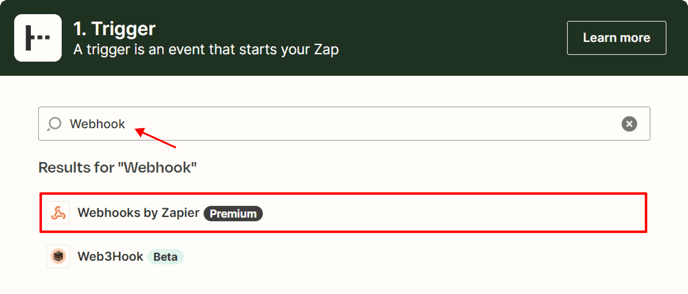
- Under the trigger search bar, search for “Webhook”. It will show a list from where select “Webhooks by Zapier” option
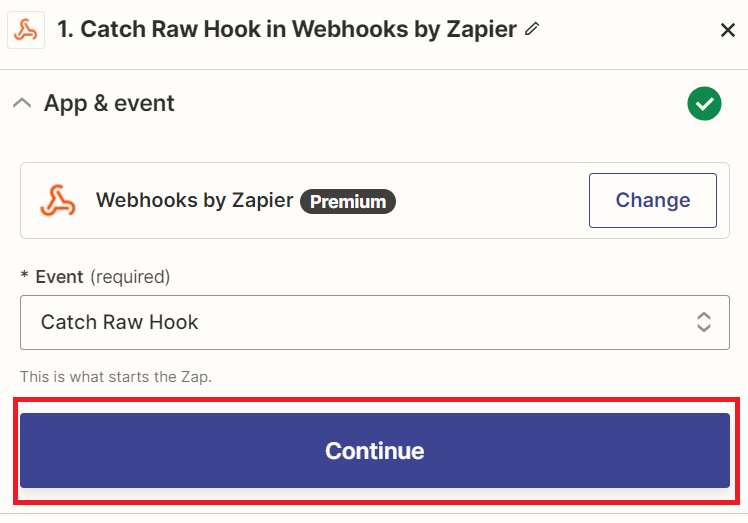
- Under Event field, select "Catch Raw Hook" option

- Click Continue
- Copy the webhook URL generated Zap

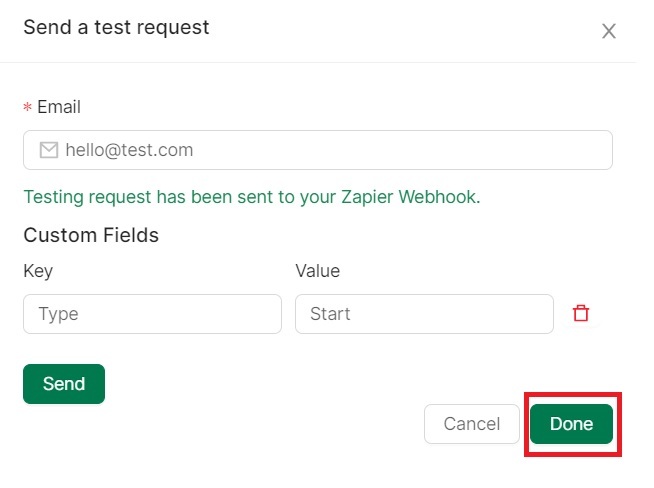
- Go back to the Opensend Dashboard screen and paste the Webhook URL there and press Send a test request

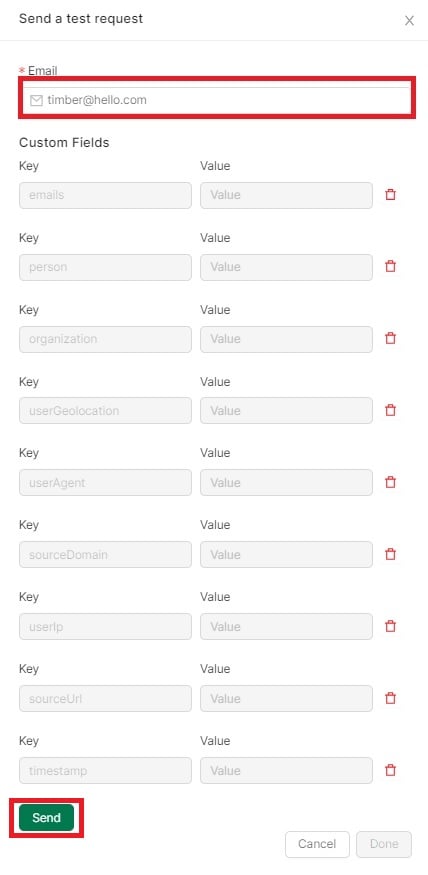
- In the popup add the email address to send as a test to Zapier and Press Send
- Go back to Zapier and click Test Trigger.

- You should be able to see the test event there. Press Continue to proceed

- In the next step click on "+" icon to add a step

- Search and select "Code by Zapier"

- Under event select "Run Javascript" and click Continue

- In input data enter "body" and in enter text or insert data select "Raw Body" from first step.

- Go back to the Opensend dashboard and copy the code from "Example code - posting to CRM"
Note: Please note, that this is an example code to convert data that we are sending, it can be customized as needed.

- Go to Zapier and under Code section, paste the code

- Click "Continue"

- Click "Test Step"

- Now your data is ready for mapping with CRM. Click Continue

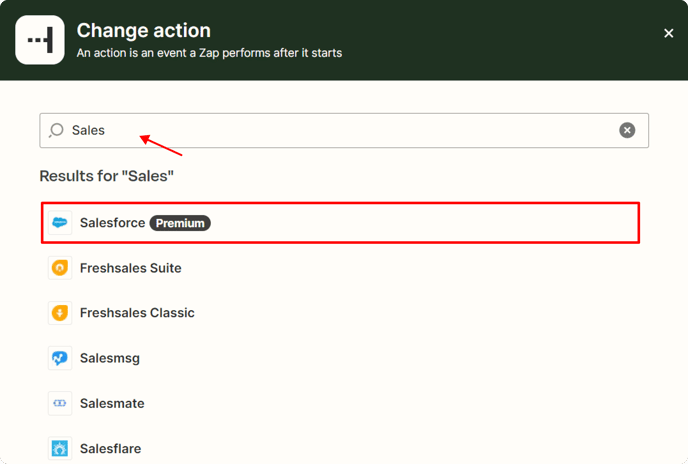
- In the next step, under the action search bar, search for the CRM you are using e.g. “Salesforce”. It will show a list from where select “Salesforce” option
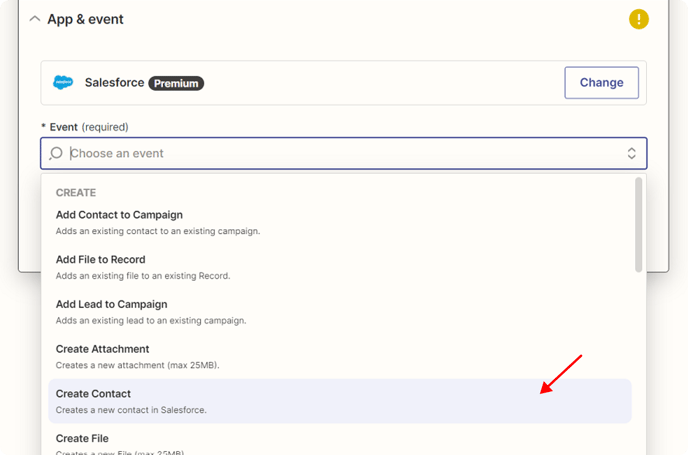
- Under Event you can select the event as needed. For example you can select Create Contact if you want to add the new record from Opensend as a Contact on Salesforce and press Continue
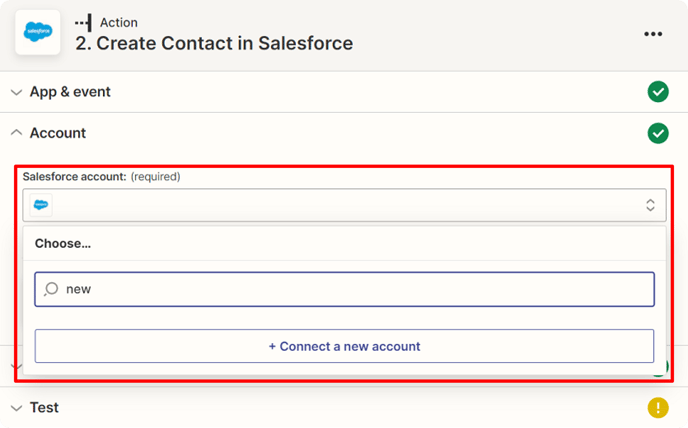
- Under account option please authenticate the Salesforce account to integrate with
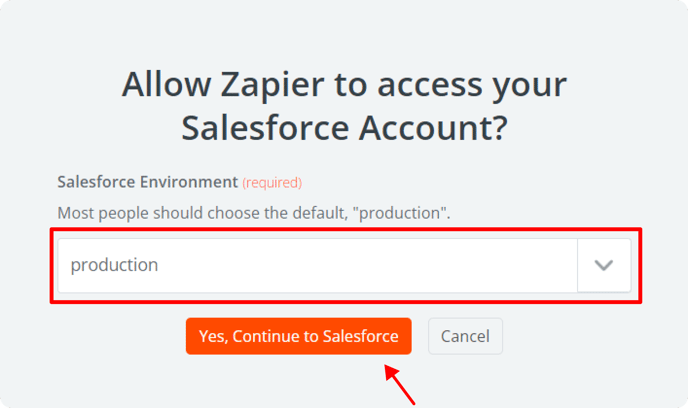
- On starting the salesforce authentication it will open a new screen select your salesforce production account from there
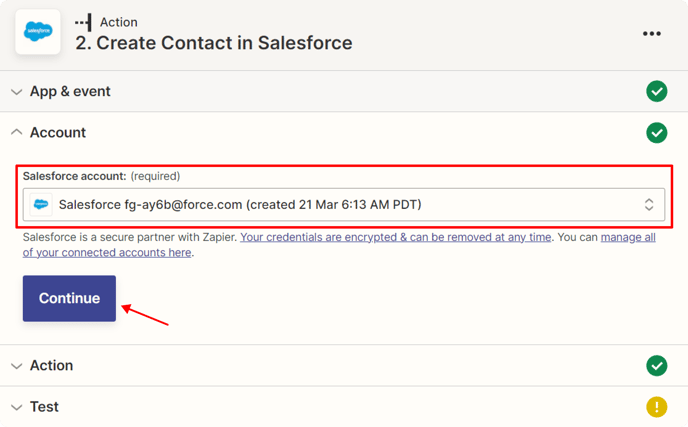
- Once the account is authenticated, you can select it from Zapier account drop down and press Continue
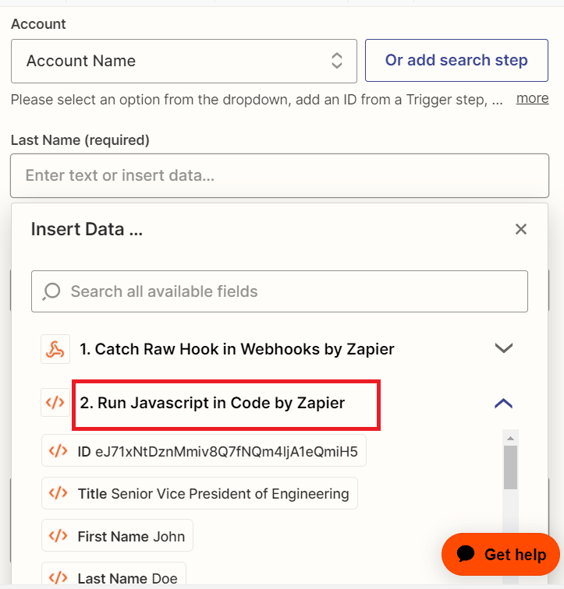
- Under action select the account where you want to populate the contacts, and map out the fields. For fields mapping use data from "Run Javascript in Code by Zapier".
- Few points to note on the email field mapping:
-
-
- Case 1: If you have separate fields in your CRM for personal and work email, you can use both Work Email and Personal Email

- Case 2: If you have only one email field to map you should be using "Contact Email" for mapping. Contact email will check and map the work email if it is available, else it will map Personal email to the email field

- Case 1: If you have separate fields in your CRM for personal and work email, you can use both Work Email and Personal Email
-
-
Note: All the required fields should be mapped out like email field. After finishing fields mapping, Press Continue.
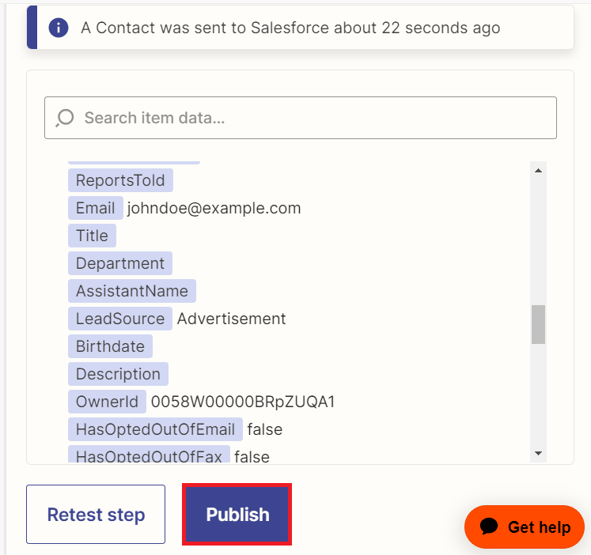
30. Click "Test Step"

- Click "Publish"
- Go back to the Opensend dashboard and click Done to close the popup
- Click Next

- Select the Traffic sources from where you want to receive the data
- Click Create Connections

- Select the connections and Click Publish
