How to connect Opensend to Klaviyo to send revived contacts to a list
- Click on the “Products” tab from the Opensend Dashboard
- Click on "Revive" under the Products tab.
- Click on “Automated Revive.”
- Select your Klaviyo account from the Klaviyo App Account dropdown.

- Once you've selected your Klaviyo account, click on the Submit button.

6. Click on the List dropdown, then select an existing list or create a new one. The selected list will be used to deliver revived emails. Then Click on Update List

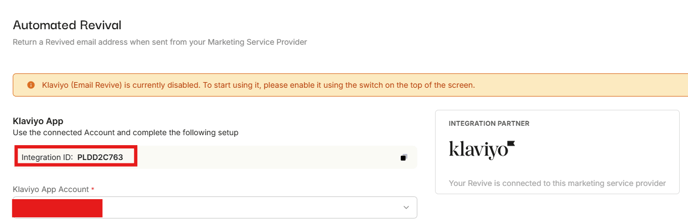
7. Enable the Klaviyo integration for email revive from the top right of the page.

How to create a segment for bounced emails on Klaviyo
-
Go to Klaviyo Dashboard
-
Click on "Lists & segments" under Audience.

-
Click on the Create New option.
-
Select Create segment from the dropdown.

-
Add a name for the segment. (For example: Opensend - Email Revive)
-
Go to the definition section and click on Select a condition dropdown.
-
Select What someone has done (or not done) option.
-
The setup should look like this
-
Bounced email at least once over all time
-
Clicked email to Unsubscribe zero times over all time
-
-
You can add additional requirements for the segment as per your needs
-
Click on Create segment and wait for Segment to be created.

How to create a flow to send bounced emails to OS and get profiles updated
- Go to Klaviyo Dashboard
- Click on "Flows"
- Click "Create Flow"

- Click "Build your own"

- Add a name for your flow (It can be Opensend - Revive)
-
Click on the Create Flow button.

-
Click on Select a trigger.
-
Click on All triggers.
-
Select Added to segment trigger.
-
Select the previously created Opensend Revive segment.
-
Click Save.

-
On the Actions menu on the left Click on Webhook and drag and drop it to the created flow after the previously created trigger.

Use the following configuration in the webhook
- Destination URL:
https://api.opensend.com/email_revive/request
Headers:-
Key: x-api-key Value: Revive API key you can create or find in Settings/API keys
Note: Please follow this guide to get your API keys
-
-
JSON body:
{
  "integration_id": "Integration ID you copied from the dashboard",
  "email": "{{ person.email }}"
}
- Destination URL:
-
Click on Save.
-
Click on Review and turn on.

-
Select Live as the Action status.
-
Click on Turn on.

Note: Contacts revived via Revive Klaviyo integration will be counted towards your active Subscription. All bounced emails that join the previously created segment, enter the revive flow, and get revived will now be sent to the list you selected in the Klaviyo Opensend Revive setup automatically.
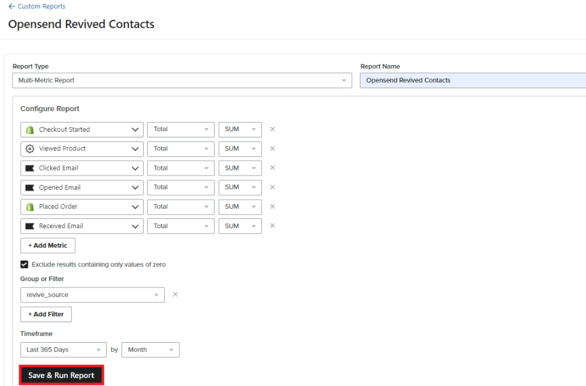
Example report to build in Klaviyo for Opensend Revived contacts
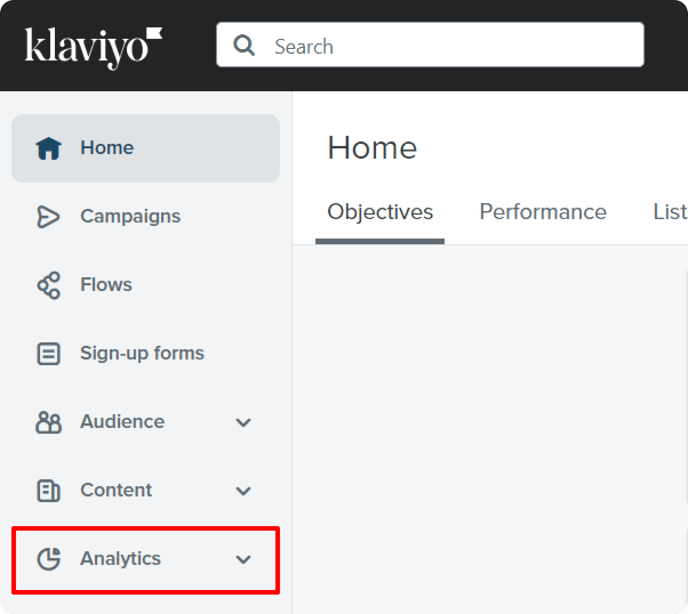
a. Enter your Klaviyo main dashboard and on the left side bar click the “Analytics” dropdown.
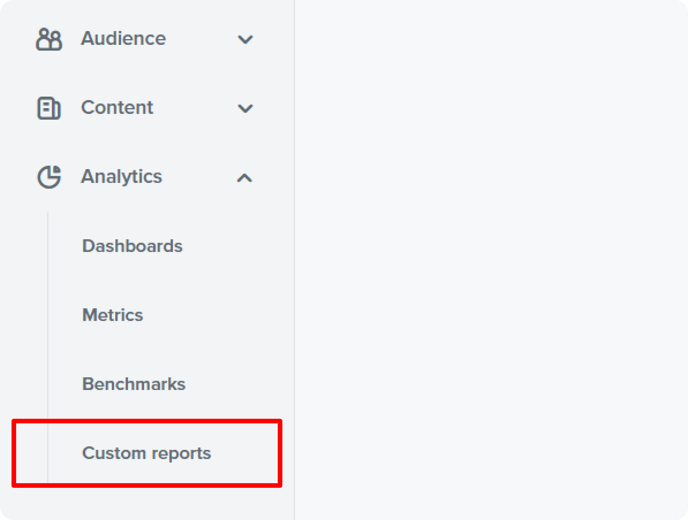
b: Then, select the “Custom Reports” option.
c: On the top right section click on the option “Create from scratch”

d: On the “Report Type” drop-down, select the option “Multi-Metric Report”
- Select the option “Checkout Started” then option “Total” then option “SUM”
- Select the option “Viewed Product” then option “Total” then option “SUM”
- Select the option “Clicked Email” then option “Total” then option “SUM”
- Select the option “Opened Email” then option “Total” then option “SUM”
- Select the option “Placed Order” then option “Total” then option “SUM”
- Select the option “Received Email” then option “Total” then option “SUM”
h: Continuing on the section “Group or Filter” click on “+ Add Group By” and select the option named “revive_source”
i: In the “Timeframe” area select “Last 365 days” and then in the next box select “Month”
j: Click on the “Save & Run Report” option