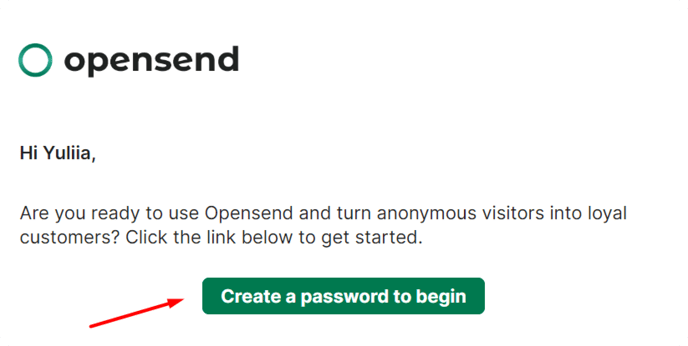
1. Once you have received the welcome email from Opensend.com, go to that email and click on “Create a password to begin”
![4-4](https://help.opensend.com/hs-fs/hubfs/4-4.png?width=688&height=347&name=4-4.png)
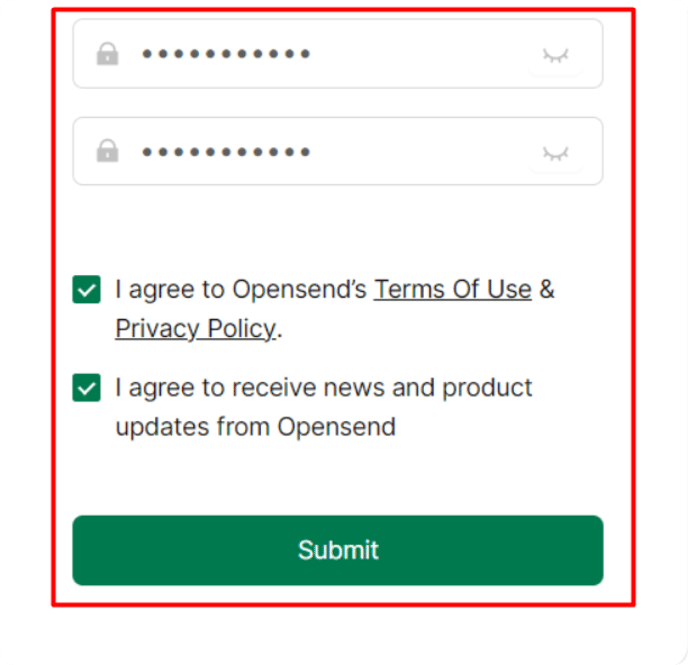
2. Set your password, click the checkboxes and finally press “Submit”
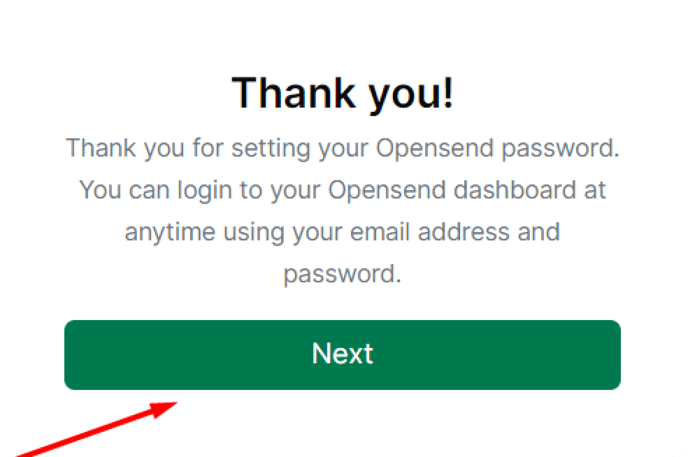
![5-4](https://help.opensend.com/hs-fs/hubfs/5-4.png?width=688&height=666&name=5-4.png)
3. Click “Next”
![6-5](https://help.opensend.com/hs-fs/hubfs/6-5.png?width=688&height=457&name=6-5.png)
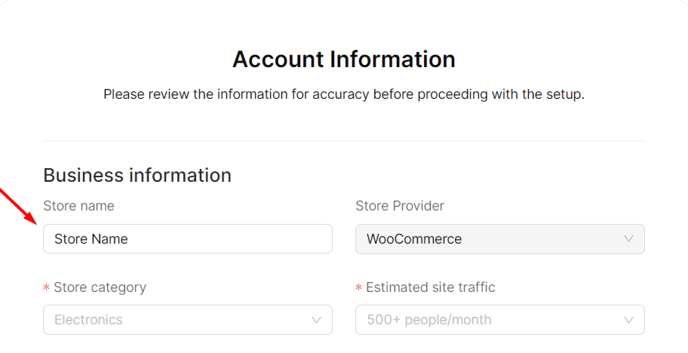
4. Add/Verify your account information and Press Next
![7-5](https://help.opensend.com/hs-fs/hubfs/7-5.png?width=688&height=353&name=7-5.png)
![8-5](https://help.opensend.com/hs-fs/hubfs/8-5.png?width=688&height=429&name=8-5.png)
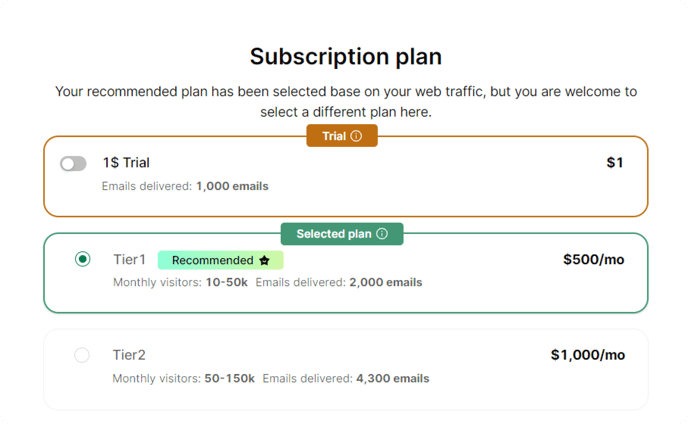
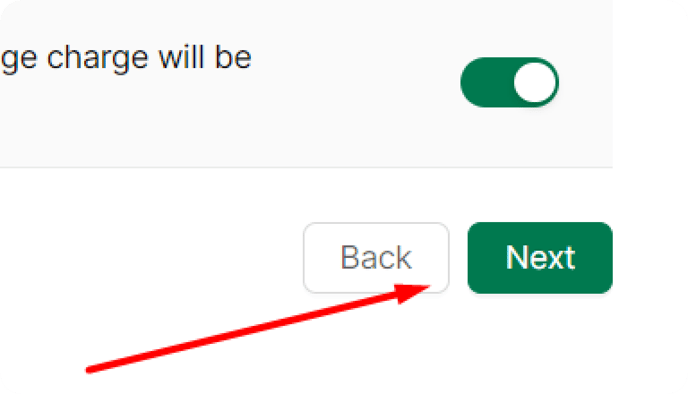
5. Select a plan and press “Next”
![9-3](https://help.opensend.com/hs-fs/hubfs/9-3.png?width=688&height=425&name=9-3.png)
![10-2](https://help.opensend.com/hs-fs/hubfs/10-2.png?width=688&height=394&name=10-2.png)
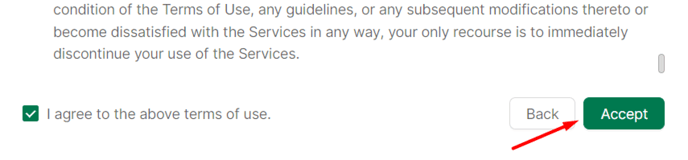
6. Read and scroll to bottom of Terms of use, click the checkbox and press “Accept”
![11-3](https://help.opensend.com/hs-fs/hubfs/11-3.png?width=688&height=160&name=11-3.png)
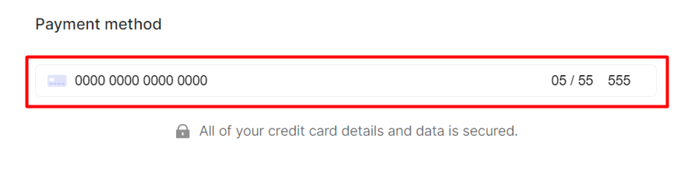
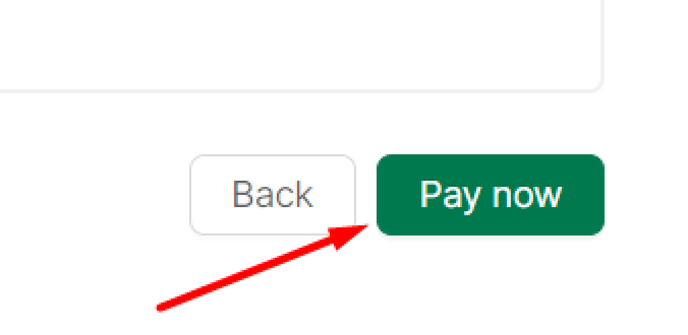
7. Verify your plan, add the credit card details and finally press “Pay now”
![12-1](https://help.opensend.com/hs-fs/hubfs/12-1.png?width=688&height=170&name=12-1.png)
![13-1](https://help.opensend.com/hs-fs/hubfs/13-1.png?width=688&height=336&name=13-1.png)
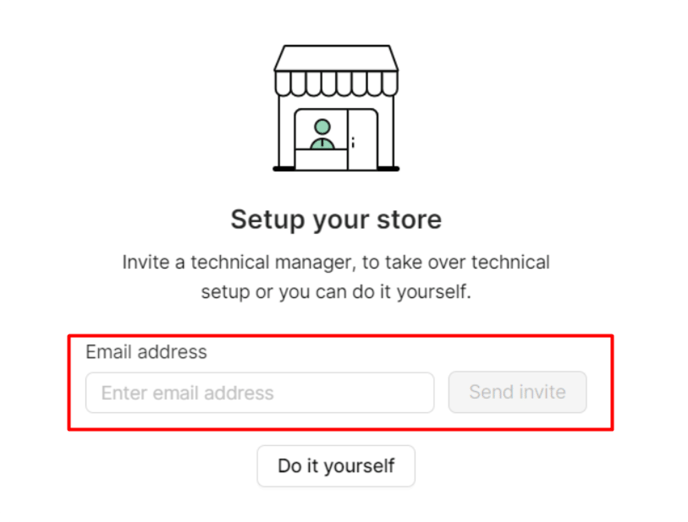
8. If you need to invite a team member for the technical setup you can send an invite at this setup or you can choose to do it from your end.
![14-2](https://help.opensend.com/hs-fs/hubfs/14-2.png?width=688&height=523&name=14-2.png)